
Add an Email Record to Unite
When you add an email record to Unite, you and others can select the record as a starting point when sending email communications. You can also publish the record for use in a customer journey. Unite provides analytics for all emails once they are sent.
To add an email record
-
Open a browser and log on to Unite.
-
On the main menu, click JOURNEYS.
-
On the navigation pane, click Marketing emails.
-
Click
 .
.
Note |
|---|
| If there is a similar email in Unite, you can open an email and use the Save As option to add a new email record with your updates. |
- If you want to start with a template, click the layout and then
click
 .
.
Otherwise, click .
.
Note |
|---|
| You can start with a system template or a custom template added by a Unite user from your school. |
- Enter a unique name for the email record.
Note |
|---|
Unite assigns a default name to new email records. Click the default name to enter a name that helps identify the email in searches, on grids, and in customer journeys.
|

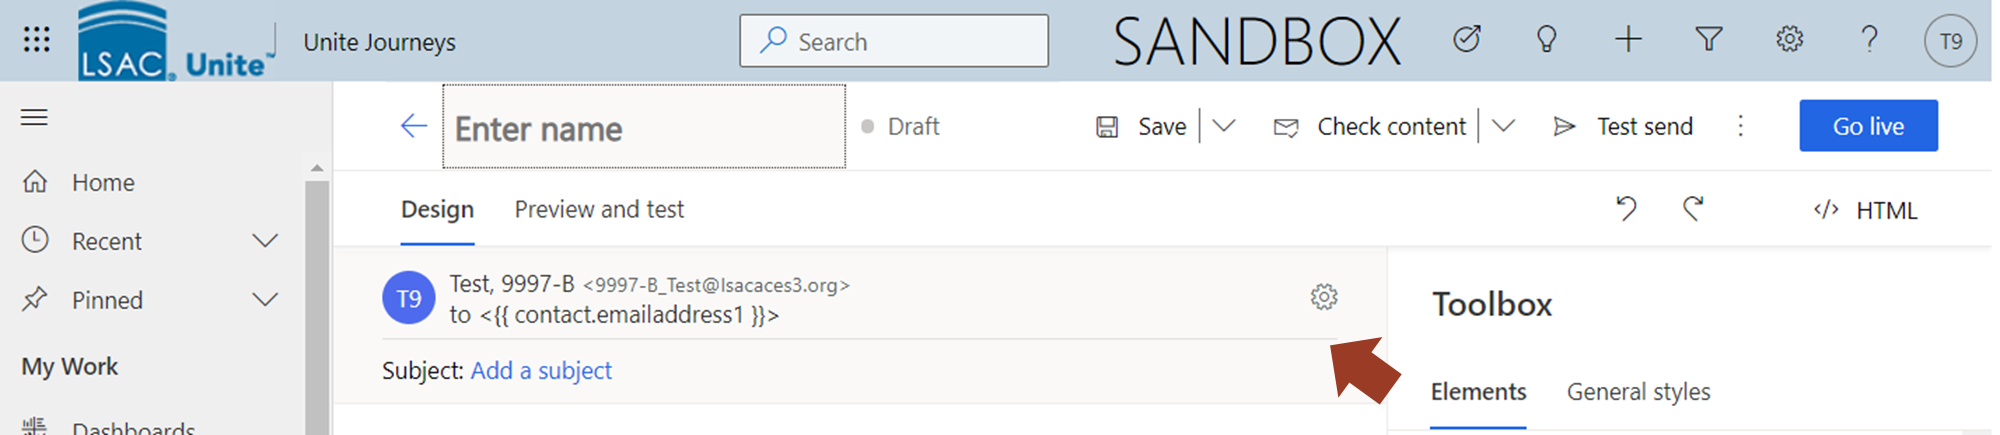
-
Verify you are on the Design tab.
-
Click the email header.
Note |
|---|
The email header includes the subject of the email message along with other general settings.
|
- Specify email header settings.
Note |
|---|
| Settings for the email header are organized into four sections, three of which you can collapse and expand as needed. |
Note |
|---|
| If you are running multiple instances of Unite, confirm the default School Id is correct for the email record you want to add. |
-
Design the email message.
-
Perform email checks.
Note |
|---|
| You can check for errors, check for accessibility, and check the spam risk level. Emails must pass the error check before you can publish and use in a customer journey. |
-
Click
 .
. -
If you want to include the email record in a customer journey, click
 . Otherwise skip this step.
 -
Click
 to close the record.